As ethical anglers, we should ensure no fish we keep goes to waste. While freezing the fish we don’t eat is safe and effective, canned fish is an easy meal requiring minimal preparation and simple storage. With proper preparation, canned fish will stay good for upwards of three years as long as it’s prepared and stored correctly.
To prepare trout for canning, anglers need to do a thorough job of cleaning the fish. Remove the head, tail, fins, and scales. It’s also important to drain all the blood and remove organs so they don’t tarnish the meat. Once cleaned, cut the fish into 4-inch strips, soak in brine, and begin the canning process.
Canning fish is a fun process to learn; plus, it’s both healthy and tasty.
Prepare Fresh Trout for Canning
After your day of fishing, quickly clean the trout you catch. According to the National Center for Home Food Preservation, cleaning your fish within two hours is best.
Once your fish is cleaned, leave it on ice while preparing it for canning. If you freeze your fish, it’s still possible to can them.
1. Start with Cleaning the Trout
Cleaning trout isn’t an overly complicated process. However, it takes a few attempts to determine how much pressure should be applied, where to start cutting, and how to get the most meat out of each fish.
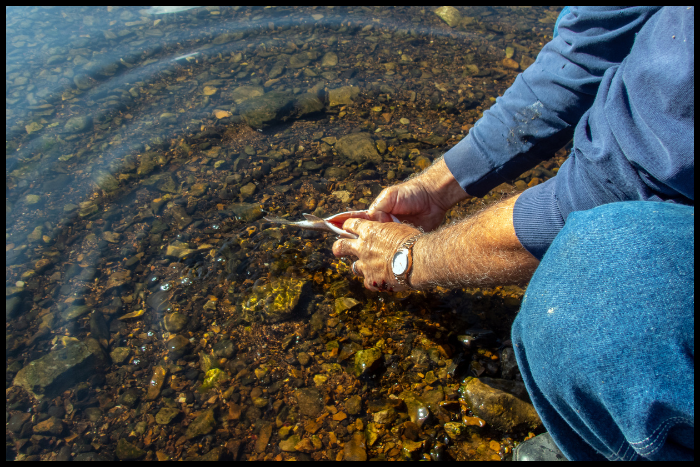
a. Scaling the Fish
Start by scraping off the scales and slime to clean your fish best. Before you scale, ensure the trout have been rinsed in cool running water. Next, place it on a cutting board, and hold the trout by the tail.
Use the non-sharpened side of your filet knife and begin scraping firmly on both sides from the tail up to the gills. You should start to see the scales brush off onto the blade.
Complete this process a few times on each side to get the best results. After you’ve descaled the trout, rinse it again under cool running water.
Ensure you don’t remove the trout’s skin while you’re scaling unless you’re queasy or going to feed it to those not interested in fish skin.
Many anglers prefer to keep the skin on due to the taste, but it’s up to you. Also, some anglers don’t scale the fish when they prepare it for jarring.
If you don’t remove the scales, they’ll come off in the jar and be hard to clean. So, it’s your preference for what you would like to do. The scales aren’t harmful to ingest.
b. Remove the Head, Tail, and Fins
Your next step in cleaning and preparation should be removing the heads and tails from the fish.
To remove the head, cut a centimeter or two behind the gills to ensure you don’t get any unwanted parts of the head in your canning process.
Cut a few centimeters above the tail and discard it. Finally, slice off any fins along the sides and top of the fish, which will not be included in the canning.
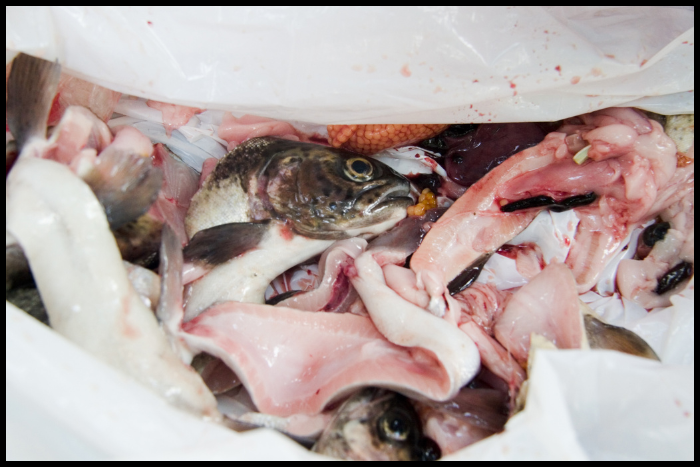
c. Remove Guts and Organs and Drain Blood
One of the most essential parts of trout preparation is ensuring all organs, guts, and blood are drained. You’ll cut in a straight line along the fish’s underbelly to do this.
You don’t need to stick your knife far into the fish and use the knife tip to make a thin cut, and you’ll use your hands to open the fish.
Reach into the fish and remove any internal organs. Don’t be too aggressive with the removal because you don’t want any organs to burst. If they do, your meat can tarnish.
Once the organs are removed, thoroughly rinse the fish, and run it under cool water until you no longer see blood running out of the fish.
If you want to be extra careful, add two tablespoons of vinegar per quart to help remove any slime or harmful bacteria.
You do not need to remove the skin or the bones. The pressure of the cooker will help dissolve the bones, and the skin helps keep the consistency of the texture.
2. Cut the Fish into Jar-Length Pieces
Depending on your preference, you can cut the meat differently. Some anglers cut it into chunks, others make long filets, and others prefer steaks.
Whatever you do, ensure the pieces are around 1/4 inch to 1 inch shorter than the jar’s interior.
Most trout pieces will be around 3 to 6 inches long, depending on the types of jars you use. Be sure to measure the jar before you cut the fish. You want your jars to be packed tightly.
3. Soak or Salt the Fish
Some anglers will soak their trout in a brine for a few hours before they begin the canning process. The general rule for the brine is to add one cup of salt for every gallon of water you use.
The brining process isn’t necessary, but it can be helpful to add even more flavor.
If you choose not to soak the fish, you can add salt to your jars. Place one teaspoon of salt per pint and one-half teaspoon per half pint.
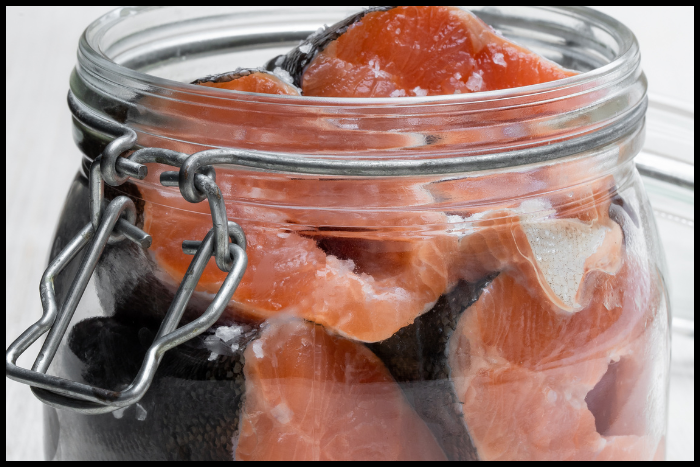
4. Fill the Jars
The final preparation step is to fill the hot jars with your fish. There are two primary things to remember when filling your jars: fill them tightly and ensure the skin is touching the glass.
Most anglers stack their fish strips vertically, making it easy to pack the fish. Start by lining the outside of the jar with the fish strips skin-side out.
From there, you can fill in the opening in the middle with enough strips to make everything compact. Don’t force the fish into the jars and crush all of the meat, but make sure everything is snug.
Place a ring and a lid on each of the cans, and you’re ready to begin cooking.
5. Preparing Frozen Trout for Canning
If you want to can your frozen fish, the process is the same as canning fresh fish as long as everything is thawed properly. When you are thawing your fish, do it in the refrigerator.
If you leave it out in room temperature air, the fish can become too soft, making the canning process more difficult.
Also, remember to leave the skin and the bones in the fish before you freeze it. The skin keeps a nice texture and taste, and the bones dissolve as the fish cooks.
Conclusion
Canning fish gives anglers an excellent glimpse into history. Before refrigerators, one of the primary storage methods was canning.
Today, it’s not an overly complicated process as long as you pay close attention to properly cleaning and preparing the fish before you pressure cook the cans.
Remember, the internal organs and blood must be drained before the process begins.
Once the fish is canned, store the cans in a cool, clean, and dry place where the temperatures are consistently below 85 degrees.